How to create a footer?
updated: 6 April 2023
A footer is a must on every e-commerce website. It is displayed at the bottom of the page and often includes information on the website, the company and the corporate address.

1. How to enable a footer
To enable your footer go to the ‘Settings/Design/Store layout’ menu and tick the ‘Footer’ bar under ‘Settings’.
2. How to add elements
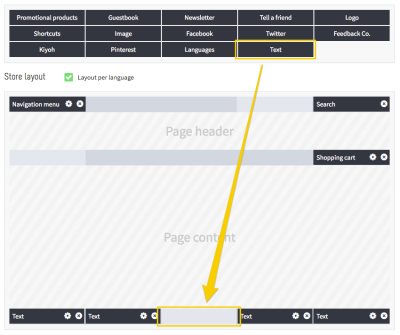
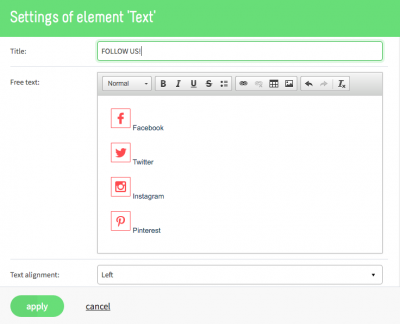
You will see the footer bar appear at the bottom of the online-store layout. Now you can add text, images, logos, Facebook, KiyOh, and a newsletter form to the footer bar by dragging the element in question to the desired location in the footer bar.


Tip!
- Use the footer bar to feature your contact details, social-media pages and important quality labels.
- Include links to your Customer Service pages and General terms and conditions.
- Would you like a page to only be visible through the footer? Then create a new main page with the subpages that you only want to show in the footer below. Then select ‘Hide page’ for the main page and subsequently, ‘Only hide this page’. Finally, place a ‘Text’ element in your footer, with one or more links to the subpage(s) in question.
