Tutorial: create a beautiful slideshow

Wouldn't you love a beautiful slideshow for your online store? In this blog post I'll explain how to create a stunning slideshow - from choosing the right images to customizing and setting up the slider in your admin panel.

Choose the right images for your slideshow
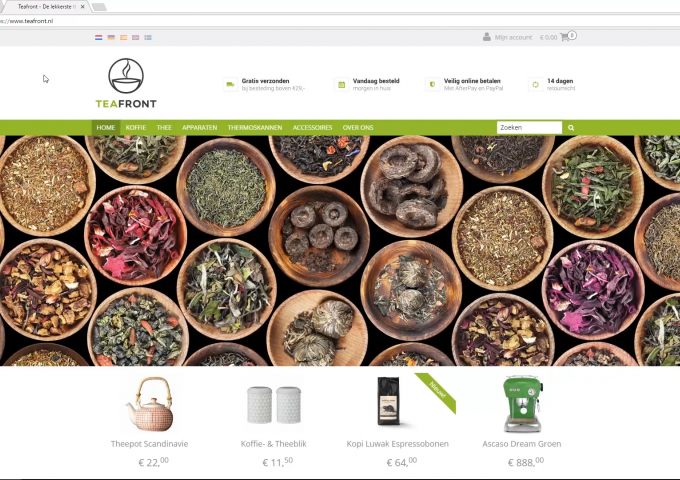
Images in a slider are mainly used to create a certain atmosphere in your online store, so there’s no need to showcase any of the actual products you’re selling. You could, for example, show where your products come from (if you’re selling coffee beans, you could insert a photo of the coffee plantations) or give your visitors a glimpse behind the scenes. If you do choose to show your products, present them in an attractive manner, in their ‘natural habitat’. An example is tea in a nice tea cup. Remember you have product photos elsewhere on your website, so dare to be a little creative in your slideshow!
A slider should feature more than just one photo. After all, you can’t slide through a single image. Generally, sliders contain three photos. Try to use images that go well together, for example because they were all photographed using the same style or they all feature the same color scheme. This creates a harmonious style on your website.
Image size
Have you selected the images you’d like to include in your slider? Great! Now it’s time to resize them. The width is the most important for slider images. Make sure your images are minimum 2,200 pixels wide. The height you can choose freely, just make sure it ties in well with the layout of your online store.
Tip: The website www.fotor.com allows you to easily edit your image size. Go to the website, click on ‘edit’ and import your photo using the button ‘import’. Then click on ‘crop’ to adjust its size.
Create a slideshow in your admin panel
So, you’ve got the right images and you’ve resized them. What’s next? Now it’s time to create a slideshow in your admin panel. Go to – drumroll, please… – ‘Slideshow’ and click on ‘Add new slideshow’.
- Choose a title for your slideshow, which won’t appear in the actual slider, but is mainly meant for yourself. You can create several slideshows for the different pages in your online store and the titles will help you to easily identify them!
- Now choose the slideshow type.
- Click on navigantion bullets if you want to display bullets on your images to show how many images your slideshow contains. If so, check where you would like to feature these bullets in your image.
- Then you can choose the transition timeframe. By default, we choose to rotate images after four seconds. Make sure you don’t switch between images too quickly to give your visitors the time to have a good look at that beautiful slideshow of yours without getting dizzy!
- Lastly, choose a transition effect. By default, we have chosen ‘horizontal scroll’.

Add images to your slideshow
Have you entered all your settings? Then click on ‘Save’ and at the bottom of the slideshow menu click on ‘New images’. What’s next, you ask?
- Click on ‘Add new image’. You will now see the menu to add a new image. Give your image a title and link it to a page in your online store, for example the page where your visitors can buy the featured product, or link it to an external URL.
- Last but not least, upload your image of course.
Repeat these steps for each image you’d like to add to your slideshow.
Add the slideshow to your online store
Your slider is ready. Now you just need to add it to your online store.
- Go to Pages to select the page you’d like to edit.
- Click on the tab ‘Slideshow’ and select the slideshow you’d like to feature on this page.
- Lastly, choose the position of the header in your online store.
You can add slideshows to various pages. To do so, simply repeat the steps above.

That’s it! Now you’ve created a beautiful slider for your online store.
Do you have any more questions? Just leave a comment below and we’ll get back to you asap!