How to create a custom image? (iPiccy)
Nowadays it is very useful to be able to edit images yourself. Especially the customization of images is a skill that you will need to have to run a webshop. Of course we love to teach you everything, so here it is!
We have already written an article on this topic in the past. In that article we used the free program Pixlr. In this article, we are going to use another free program called iPiccy.
How to resize an image.
1. Go to the iPiccy website and click 'Edit a photo'.

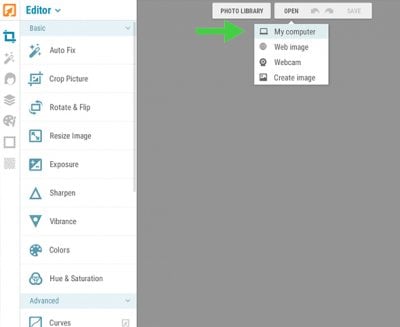
2. Click 'Open' and choose an image.
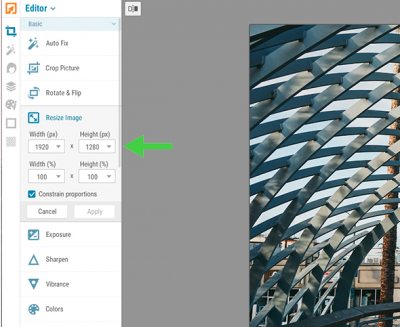
3. Click "Resize Image" and enter the values. It is important that you check the option "Constrain proportions". This keeps the ratio of the image the same. Then click "Apply" to apply the changes.
4. Finished editing? Go to 'How to save your image'.
How to crop an image
1. Go to the iPiccy website and click on 'Edit a photo'.

2. Click open and choose an image.

3. Click ‘Crop Picture’. If you need a specific length and with, you can enter any value over here.
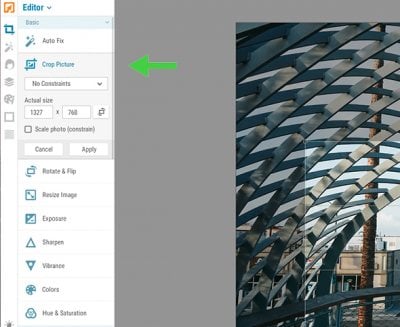
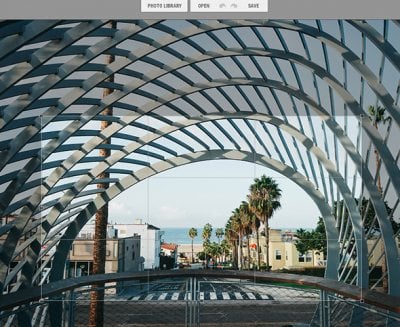
4. Move the selection box as desired and click "Apply" to apply the changes.
How to save your image
Now that you have customized the image, all we need to do is save the image. Then we can use the image in your webshop.
1. Click 'Save' and then choose 'My computer'.
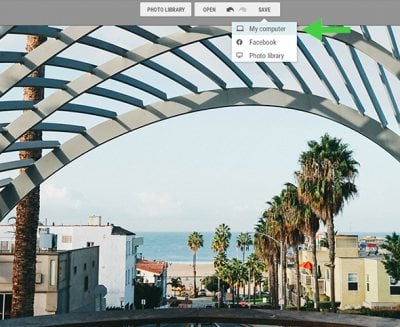
2. Then choose the file name and quality. We recommend that you always choose "Normal" or "High". Don't choose "Highest". This ensures that your image becomes very large in terms of file size.
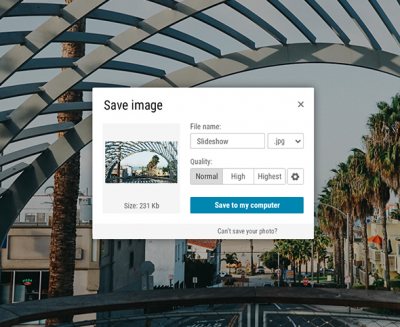
3. Now click "Save to my computer" and choose the location where you want to save the image.
All you have to do is import the image into your online store and we're there. It can be that simple!
