How do I add an Instagram feed to my webshop?
Setting up an Instagram feed with SnapWidget. To set up an Instagram feed, it is necessary that you have linked Google Tag Manager (this is available from a MyOnlineStore PRO plan). If you haven’t integrated Google Tag Manager yet, read the links below to learn how to create a Google Tag Manager account and how to link it to your webshop. Do this before continuing with SnapWidget.
Information about Google Tag Manager and how to create an account
Manual: how do I integrate Google Tag Manager?
Stap 1: SnapWidget
In this first step, we are going to make sure that you become familiar with SnapWidget and that you can set up the Instagram feed.
Create an account
Visit snapwidget.com and create your own account by clicking 'sign up'. It is possible to create a free account or a paid account. We recommend the paid account 'Lite Plan' *. The main advantages of a paid account are that the photos from the feed link to your own Instagram account and the widget can be set for different devices (mobile, tablet, desktop) so that it scales well.
* Accepted payment methods are Credit Card and PayPal

Create a widget
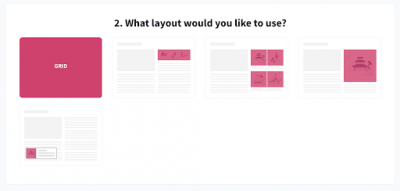
- When you have created an account, you can create a widget to set up the Instagram feed. Click on 'choose a service' and select 'Instagram'. You can choose from different layouts. In this manual, we have chosen the layout 'Instagram grid'.
Configure widget
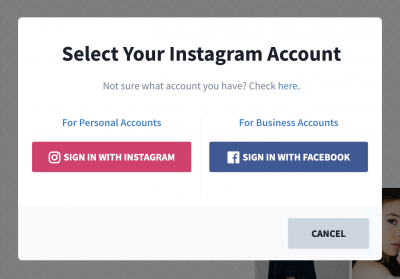
- After choosing the layout, click the 'configure widget' button. Link the Instagram account you want to show in the feed. You can link your account by logging in via Instagram or Facebook
- Configur your widget by choosing the desired layout from the menu on the left.
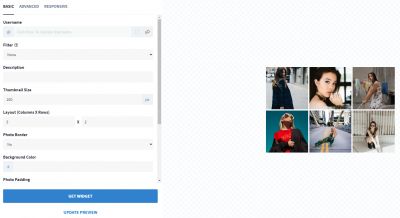
- Set the 'thumbnail size' to 160 pixels and set the 'responsive' option to Yes at the bottom of the menu. This ensures optimal scaling of the feed in your webshop
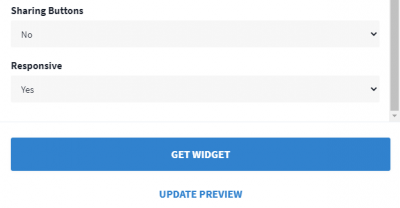
- In the 'responsive' tab you can set the widget for the different devices. In the right half of the screen you can see an example of the Instagram feed.
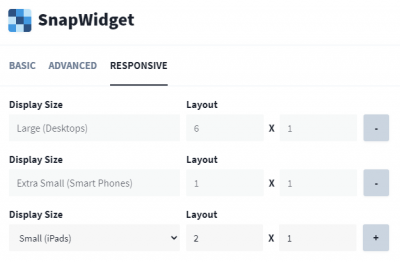
Tip! For mobile, choose a maximum of one or two photos to have a good visible Instagram feed.
- When you have set up the widget, click the blue 'get widget' button. You will now see a pop-up screen with an iframe code.
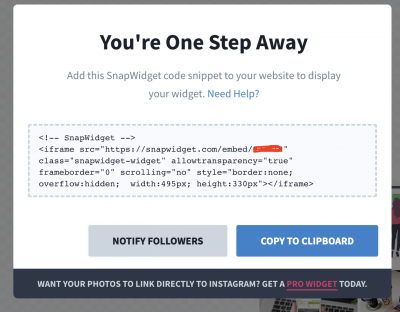
- Click 'copy to clipboard' and temporarily paste the code into a text editor such as Notepad (Windows) or notes (Mac OSX). You will need this code in the next step in Google Tag Manager in your webshop.
Step 2: Google Tag Manager
Now is the time to get started with Google Tag Manager.
Adding a tag
- Make sure you are logged in to Google Tag Manager and select the container you have linked to your store. Select the item 'Tags' in the menu on the left.
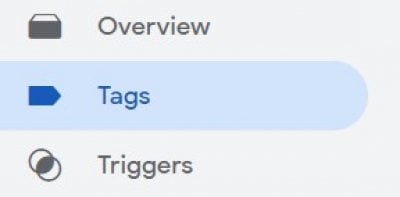
- Then click on the blue 'New' button to create a new tag.

- Give your tag a name and then click on the 'Tag Configuration' block.
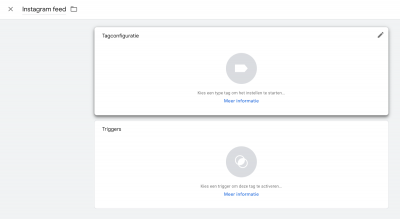
- Then choose ‘Custom HTML’.

- Then paste the code below into the HTML field (not the code you just copied into your notepad).
<!-- SnapWidget -->
<script src="https://snapwidget.com/js/snapwidget.js"></script>
<script>
var iframe = '';
var elements = document.getElementsByTagName("p");
[].forEach.call(elements, function (element) {
if (element.textContent === "[instagram-feed]") {
var iframeDiv = document.createElement("div");
iframeDiv.innerHTML = iframe;
element.parentNode.replaceChild(iframeDiv, element);
}
});
</script>
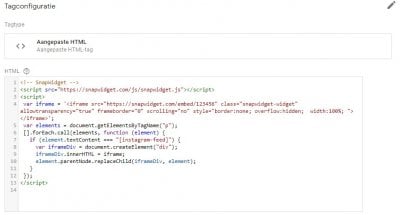
- Now grab the iframe code that you generated with SnapWidget in the previous step. Only copy the piece from <iframe… to </iframe>. All other information does not need to be copied.

- Paste the iframe code between the 2 apostrophes (' ') on the 4th line. See the image below for clarification:
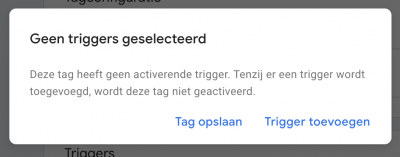
- When you have pasted all the code, click on the blue 'Save' button at the top right of your screen. A pop-up will now appear stating that you have not selected a trigger yet. Click on 'Add trigger'.
- Then select the option ‘All pages’ under Triggers.
- Click the blue 'Save' button again at the top right of your screen to save your tag. When your tag has been saved, click 'Send' at the top right of your screen and then click 'Publish'. Optionally, give your tag a name and description and click 'Continue'. You will now see the following screen:

After loading, your tag is published and you can place the Instagram feed in your webshop!
Step 3: MyOnlineStore
Now it is time to install the Instagram feed in your webshop.
Getting the Instagram feed in your webshop
Go to the store admin of your webshop. There, go to the page where you want to post the Instagram feed. In the text of this page paste the following code: [instagram-feed]
Note: make sure that '[instagram feed]' is not bold and use 'enter' to insert the text (don't use the 'shift-enter' combination on your keyboard as it won't work).
Then click on 'Save'.
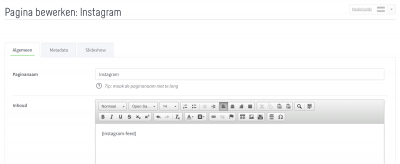
Google Tag Manager will now automatically replace this piece of code with SnapWidget's Instagram feed!
Note! If you change the layout of the Instagram Feed after you have set it up in your webshop, the changes may not be visible right away. This is because the Instagram feed is remembered in your cache. To view the Instagram Feed correctly, you need to clear your cache or view your webshop in the incognito mode of your webbrowser.
Need some help setting up your Instagram feed? Have it done for only €49!
Don't feel like setting it up yourself or are you unable to figure it out completely? We are happy to help you set up your Instagram feed! We charge a one-off fee of € 49 (excl. VAT) for this service.
Please contact customer support: call 0031 412 66 80 11 or e-mail us support@myonlinestore.com
